
After buying a domain name, your immediate next steps are: (1) turn on domain privacy protection, (2) get a web hosting plan, (3) connect your domain to hosting via nameservers, (4) set up a professional email address, (5) build your website or blog, (6) secure your site with SSL, (7) claim matching social media handles, (8) submit to search engines, and (9) turn on auto-renewal so you never lose your domain by accident.
Buying a domain name is the exciting part. What happens next is where most people get stuck.
You have left the registrar’s checkout page, the domain is registered, and now you are staring at a dashboard, wondering what to do with it.
If you searched “I bought a domain name now what,” you are in exactly the right place.
Whether you want to build a blog, launch a business, set up a professional email, or protect your brand online the steps are the same, and they are simpler than most guides make them sound.
.This article walks you through all 9 steps in plain English, with no assumed technical knowledge and no fluff. By the end, you will know exactly what to do with your new domain and in what order.
What’s in a Domain Name? (And Why It Matters What You Do Next)

Before jumping into the steps, it is worth clearing up the single most common confusion beginners run into: a domain name and web hosting are two completely different things, purchased from two different places.
Your domain name is your online address it is what people type into a browser to find you (like yourblog.com).
Your web hosting is the actual server where your website files live think of it as the house sitting at that address. You need both to have a working website, and buying one does not automatically give you the other.
The reason this matters immediately is that what you do in the next 24 to 48 hours after buying a domain affects your security, your privacy, and your search engine visibility for months to come.
A few small actions now save you significant headaches later especially around domain privacy and auto-renewal, which most guides bury near the end. Start with those.
9 Steps to Take After Buying a Domain Name
Step 1 Turn On Domain Privacy Protection

This is the step most guides list fourth or fifth. It should be first because it is time-sensitive and easy to forget once you move on to building your site.
When you register a domain, your personal information name, email address, phone number, and physical address is automatically added to a public database called the WHOIS directory. Anyone in the world can look up your domain and see this information.
Within hours of registration, spam bots and domain brokers are already scraping these records.
What to do: Log back into your domain registrar (GoDaddy, Namecheap, Cloudflare, or wherever you bought the domain), find the privacy or WHOIS protection option, and enable it.
Most registrars offer this free or for a small annual fee. Once enabled, your personal details are replaced with the registrar’s generic contact information your privacy is fully protected.
What happens if you skip it: Your personal email and phone number get added to spam lists within 24 hours of registration. Some registrars sell this data.
Domain squatters also monitor new registrations and may contact you with unsolicited offers to buy your domain back at inflated prices.
Step 2 Get a Web Hosting Plan
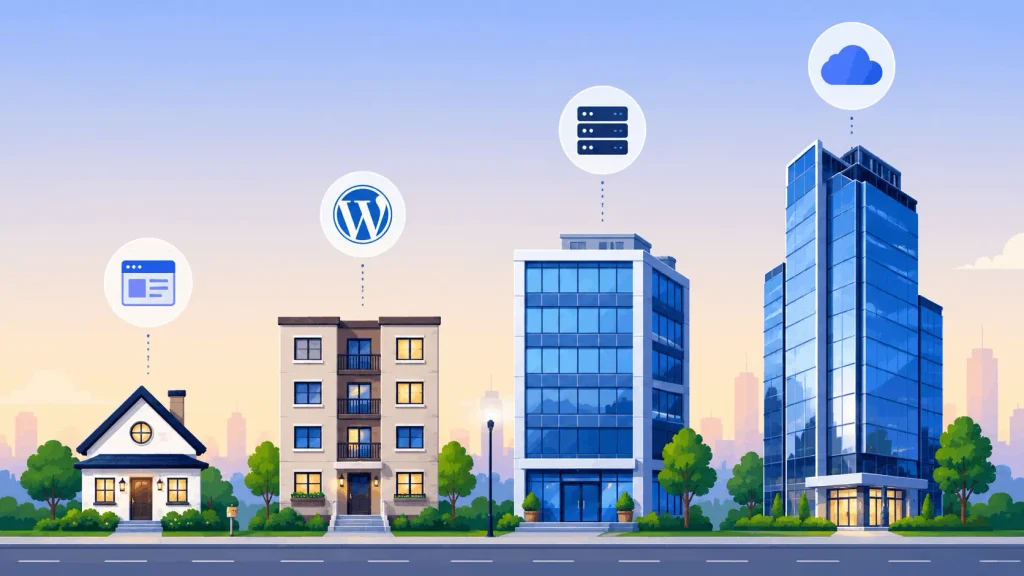
Now that your domain is protected, it is time to give it a home. Your domain name is just an address without hosting, there is no website for visitors to land on when they type it in.
Think of it this way: the domain is the sign on the building, and the hosting is the actual building. You need both.
Which type of hosting is right for you?
1. Shared Hosting
The most affordable option your website shares server resources with other sites. Best for new blogs, beginners, and small websites. Typical price: $2–$10/month.
2. WordPress Hosting
Shared or dedicated hosting specifically optimized for WordPress faster load times, automatic WordPress updates, and one-click installation. Best for bloggers, affiliate marketers, and content sites. Typical price: $3–$15/month.
3. VPS Hosting
A virtual private server gives you dedicated resources on a shared physical server. Best for growing sites with consistent traffic (5,000 or more monthly visitors). Typical price: $20–$80/month.
4. Cloud Hosting
Resources distributed across multiple servers scales automatically with traffic spikes. Best for business sites with unpredictable or high traffic. Typical price: $10–$100+ per month.
For most bloggers and affiliate marketers starting: WordPress hosting from a reliable provider like Hostinger, SiteGround, or Bluehost gives you the best balance of speed, support, and price.
All three offer one-click WordPress installation, which means you go from having hosting to WordPress running in about three minutes.
Step 3 Connect Your Domain to Hosting (Nameservers)
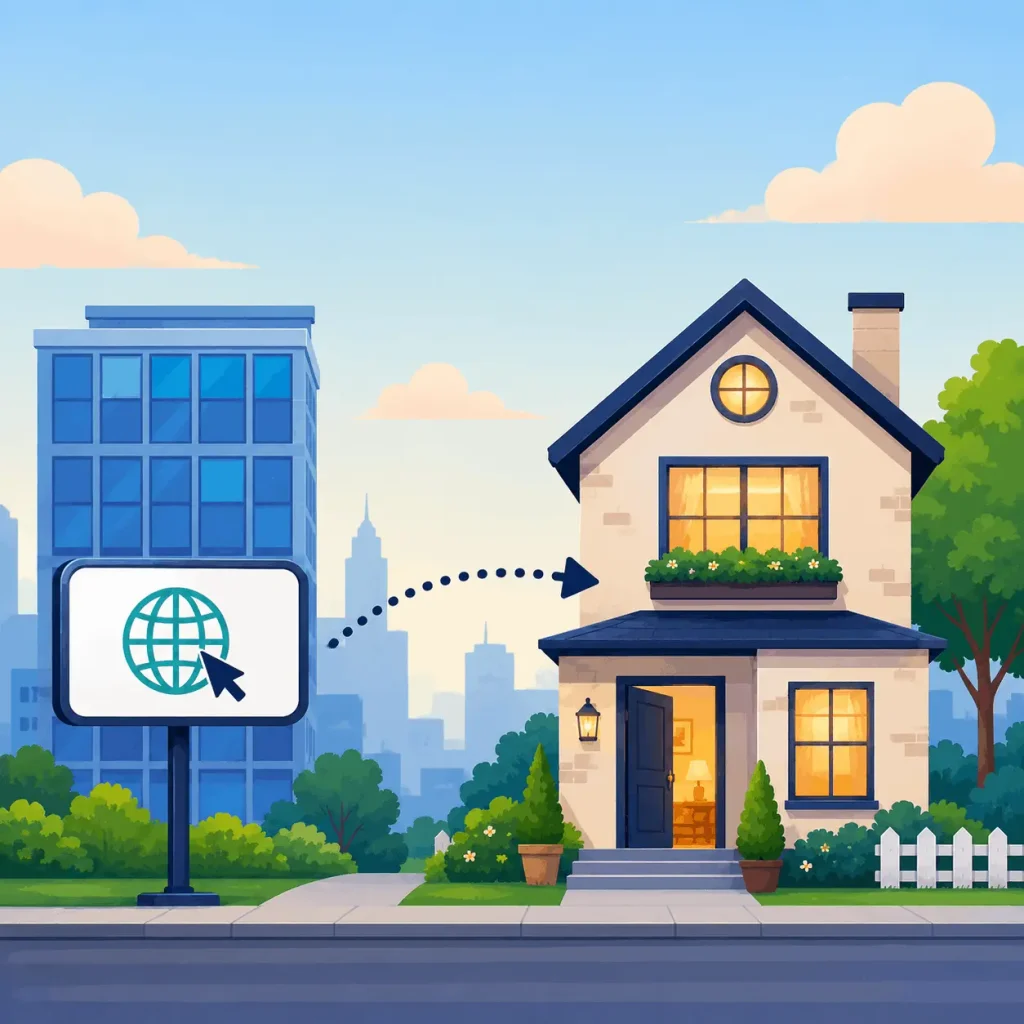
If you bought your domain and hosting from the same company, they are likely already connected you can skip to Step 4.
If you bought them separately (for example, domain from Namecheap and hosting from SiteGround), you need to point your domain to your hosting server.
This is done by updating your domain’s nameservers think of nameservers as the phone book entry that tells the internet where your website actually lives.
Here is how to do it:
Step 1: Log in to your hosting account and find your nameserver addresses. They usually look like ns1.yourhostingprovider.com and ns2.yourhostingprovider.com. Your host will show these in your welcome email or account dashboard.
Step 2: Log into your domain registrar account and navigate to your domain’s DNS settings.
Step 3: Find the nameserver section, select “Custom nameservers,” and replace the existing nameservers with the ones from your hosting provider.
Step 4: Save the changes.
Changes take between 15 minutes and 48 hours to propagate globally this is completely normal.
During this time, your domain may intermittently show your hosting provider’s default page or nothing at all. It is just the internet catching up.
Common mistake to avoid: Some guides tell you to update your A record instead of nameservers. Updating nameservers is the cleaner approach it routes all your domain DNS through your hosting provider, which means you do not have to manage individual records manually.
Step 4 Set Up a Professional Email Address

Once your domain is connected to hosting, you can create an email address using your domain name like hello@yourdomain.com or yourname@yourdomain.com instead of a generic Gmail or Yahoo address.
This single step has a bigger impact on first impressions than most people realize.
When someone receives an email from john@gmail.com, they have no idea who John is or whether the email is legitimate.
When they receive one from john@yourbrand.com, they immediately know which company they are dealing with. It signals professionalism, builds credibility, and significantly reduces the chance your emails end up in spam.+
Three ways to set up your domain email:
1. Google Workspace
The gold standard for professional email. You get Gmail’s familiar interface and reliability with your own domain name. Best for businesses and anyone who relies heavily on email for client communication. Starts at $6 per user per month.
2. Zoho Mail
The best free option. Zoho’s free plan supports up to five users with 5GB storage each more than enough for a solo blogger or small team. Their paid plans are also significantly cheaper than Google Workspace.
3. Your Hosting Provider
Most web hosts include basic email hosting free with your plan. It is less reliable than Google Workspace or Zoho for high-volume sending, but perfectly functional for a starting blog or personal site.
Step 5 Build Your Website or Blog

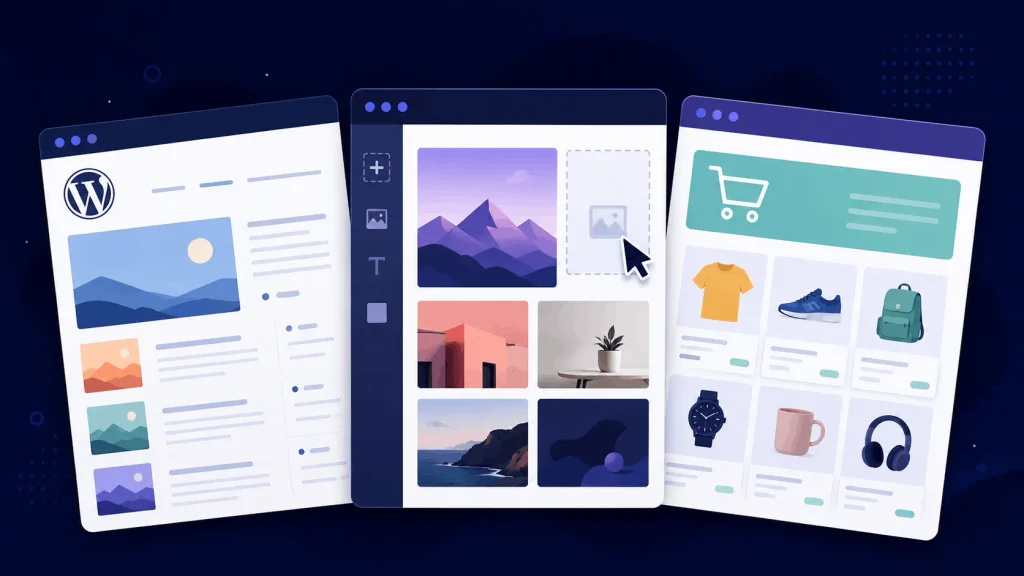
Now comes the part most people are actually excited about building the site itself. The platform you choose will shape how you work for years, so it is worth spending five minutes on this decision before diving in.
WordPress.org is the right choice for the vast majority of bloggers, affiliate marketers, and content publishers. It powers over 43% of all websites on the internet.
It is free, endlessly customizable, and supported by thousands of themes and plugins. If you want to rank on Google, monetize through affiliate links, or build a content brand WordPress is your platform.
Website builders like Wix, Squarespace, and Weebly are better for designers, photographers, small local businesses, or anyone who wants a visually polished site without touching code.
They are faster to set up but more limited for SEO and monetization at scale.
Shopify is the right choice only if you are building an online store. For pure content or affiliate sites, it is overkill and more expensive than necessary.
How to install WordPress in one click:
Log into your hosting dashboard and look for the “WordPress” or “One-Click Install” option every major host has this.
Click install, choose your domain, set your admin username and password, and within 60 seconds WordPress is running on your domain.
Log in at yourdomain.com/wp-admin, install a lightweight theme (GeneratePress and Astra are both excellent free options), and you are ready to publish your first post.
Also Read: (How To Start A Blog From Scratch In 2026 [Step By Step Guide])
Step 6 Secure Your Website with SSL
SSL (Secure Sockets Layer) is the technology that puts the padlock icon and “HTTPS” in front of your website address. Without it, visitors see a “Not Secure” warning in their browser which destroys trust and drives people away before they have read a single word.
In 2026, SSL is non-negotiable. Google uses HTTPS as a ranking signal. Browsers like Chrome actively warn users away from non-HTTPS sites. And most modern hosting plans include free SSL through Let’s Encrypt meaning it costs you nothing to enable.
How to enable SSL:
Log into your hosting dashboard and look for the SSL or Security section. Most hosts have a one-click “Enable Free SSL” button.
Once activated, your site automatically switches from http:// to https://. The process takes anywhere from a few minutes to a couple of hours.
One important follow-up step: After enabling SSL, go to WordPress Settings General and confirm that both your WordPress Address and Site Address start with https:// and not http://.
Then install the free “Really Simple SSL” plugin to redirect any old HTTP links to HTTPS automatically. This ensures no visitor ever hits an insecure version of your pages.
Step 7 Claim Your Social Media Handles

Even if you have no intention of being active on social media right now, claim your brand handles on every major platform today.
Someone else could register @yourbrandname on Instagram or Twitter/X tomorrow and once they do, getting it back requires a legal dispute you do not want to deal with.
Platforms to claim immediately:
- Twitter/X
- Facebook Page
- LinkedIn Company Page
- YouTube Channel
The fastest way to check availability across all platforms at once: Go to Namechk.com, type your brand or domain name, and it will show you availability across 100+ platforms in seconds. Spend 20 minutes claiming every relevant handle even the ones you are not planning to use yet.
Use the same handle everywhere.
Brand consistency across your domain, email, and social profiles is a trust signal for both users and search engines. When everything matches, people know immediately they have found the right account.
Step 8 Submit Your Website to Search Engines
Google does not automatically know your new website exists. You need to tell it and the fastest, most reliable way to do that is through Google Search Console.
Setting up Google Search Console:
- Go to search.google.com/search-console and sign in with your Google account.
- Add your property using the “URL prefix” option and enter your full domain (for example, https://yourdomain.com)
- Verify ownership the easiest method is adding the HTML meta tag Google provides to your site’s header. If you are using WordPress, the RankMath or Yoast SEO plugin adds this in a single click.
- Once verified, navigate to Sitemaps and submit yourdomain.com/sitemap.xml this gives Google a map of every page on your site to crawl.
Also worth doing: Submit your site to Bing Webmaster Tools at bing.com/webmasters. It takes five minutes and gives you coverage across Bing and Yahoo searches, which together account for roughly 6 to 8% of global search traffic. Small, but completely free.
What “indexing” actually means: After submitting, Google will crawl your site and add it to its index the database it pulls search results from. For a brand new site, this typically takes two to four weeks. Do not panic if your domain does not appear in Google on day one. Keep publishing content, and Google will catch up.
Also Read: (Top Best SEO Audit Tools 2026 [In-Depth Review])
Step 9 Turn On Auto-Renewal and Protect Your Domain Long-Term
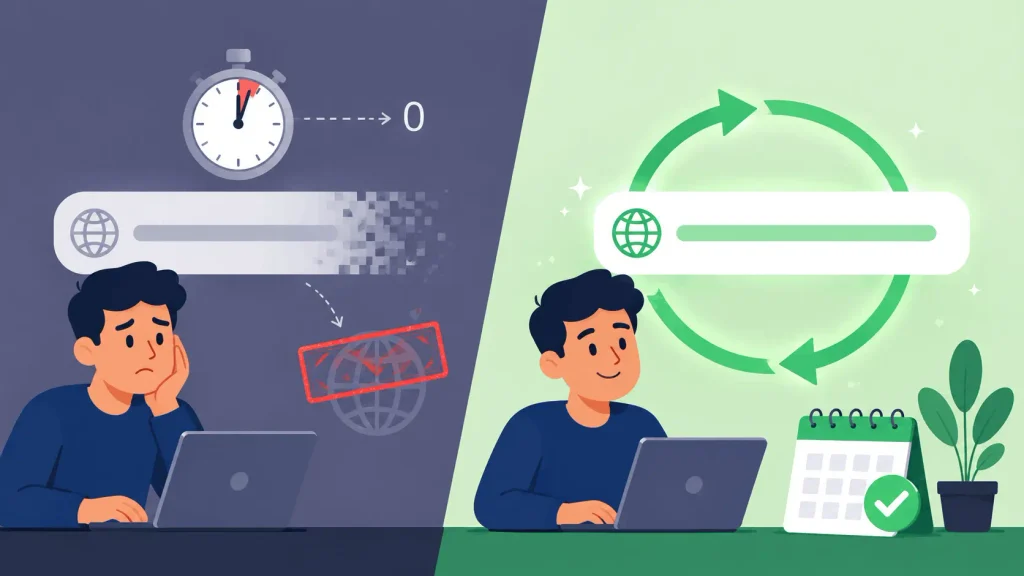
This is the step everyone skips until they have lost a domain they genuinely cared about. Domain names are not owned permanently you register them for a period of one to ten years and must renew before the registration expires.
What the expiration cycle looks like:
- Expiration date: Your registration period ends. Most registrars give a grace period of 0 to 40 days to renew at the normal price.
- Grace period ends: The domain enters “Redemption” status. You can still recover it, but you will pay a redemption fee of $50 to $200 on top of the regular renewal cost.
- Redemption ends (after roughly 30 more days): The domain is released to the public, and anyone can register it including domain squatters who will immediately try to sell it back to you at a massive markup.
How to protect yourself right now:
- Enable auto-renewal in your registrar account settings today this is the single most important action in this step.
- Make sure the payment method on file is current and will not expire before your next renewal date.
- Consider registering your domain for multiple years if it is central to your brand most registrars offer discounts on 2-, 5-, and 10-year registrations.
Domain variations worth registering: If your brand or business name is valuable, consider registering the .net and .org versions alongside your main .com.
This prevents competitors or squatters from confusing your audience with near-identical domains.
What Else Can You Do With Your Domain?
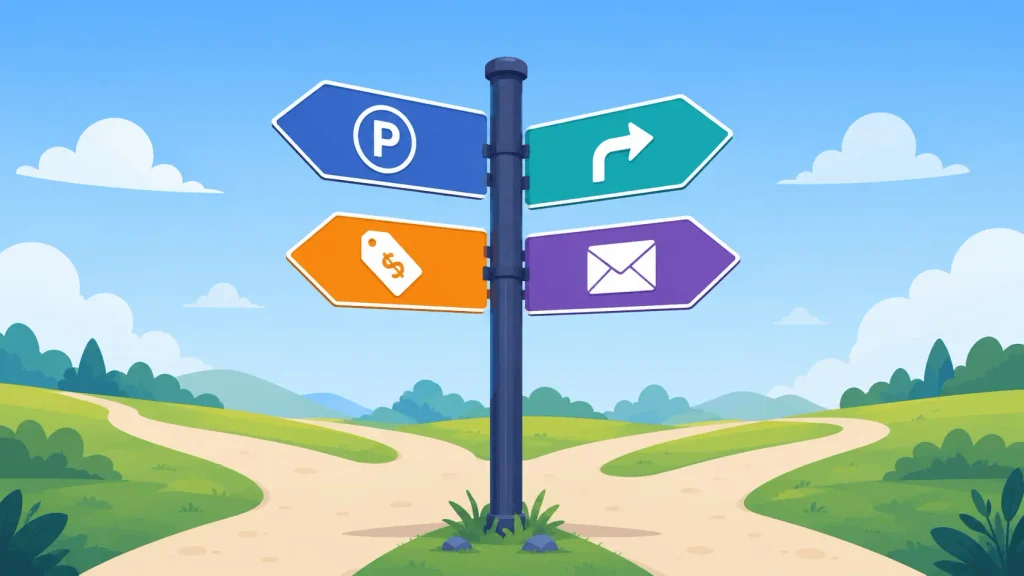
Not everyone who buys a domain is ready to build a full website right away. Here are four alternative ways to put your domain to work in the meantime.
1. Park Your Domain
Domain parking means pointing your domain to a simple placeholder page either a “Coming Soon” page while you prepare to launch, or a basic page that shows ads and earns small passive revenue. Most registrars offer free parking through their dashboard.
Tools like Carrd or ConvertKit’s landing pages let you create a clean “coming soon” page with an email opt-in in about ten minutes, which means you can start building your email list before your site even officially launches.
2. Redirect It to Another Website+
If you bought a domain to protect your brand but your main presence is elsewhere a social media profile, an Etsy shop, or an existing website you can set up a redirect so that anyone who visits your domain gets sent directly to your chosen destination.
This is done through the DNS Forwarding section in your registrar’s dashboard. Select 301 Permanent Redirect, enter the destination URL, and save. Done.
3. Sell Your Domain Name
Some domains have significant resale value, particularly short and memorable .com names or domains containing high-value keywords.
If you bought a domain speculatively and want to sell it, the most active marketplaces are Sedo, Flippa, Dan.com, and GoDaddy Auctions.
Domain investors typically evaluate value based on length (shorter equals more valuable), keywords present in the name, the TLD (.com is the most valuable), and how brandable the name is.
4. Use It for a Custom Email Only
You do not need a full website to get a domain email address. If all you want is a professional email like yourname@yourdomain.com without building a site, you can connect your domain directly to Google Workspace or Zoho Mail without purchasing hosting at all.
Google Workspace starts at $6 per month per user less than most hosting plans and Zoho Mail has a genuinely usable free tier.
Register and Trademark Your Domain (Protect Your brand)
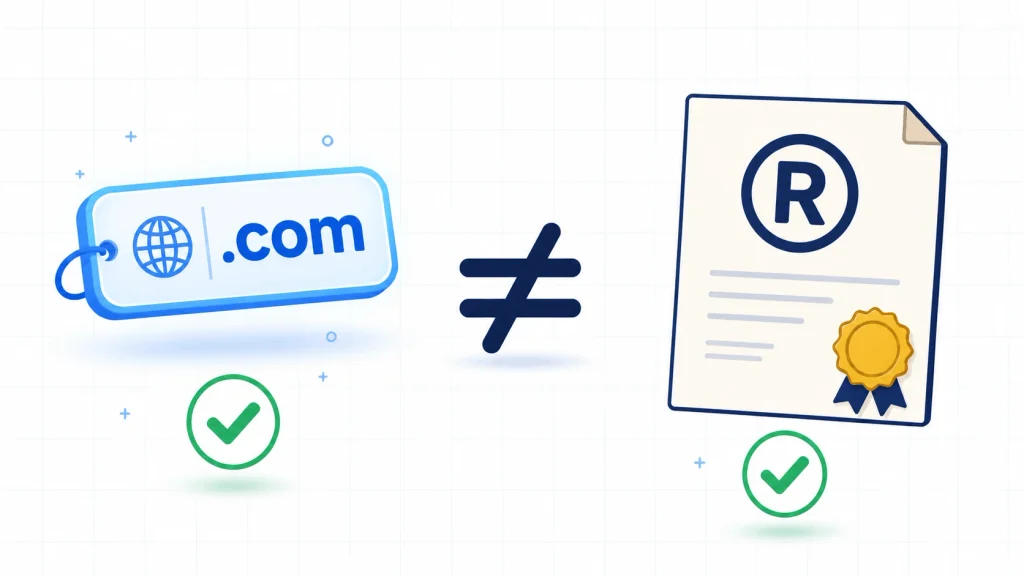
Registering a domain name and trademarking your brand name are two completely separate things. Owning yourbrand.com does not give you legal trademark rights to the name “Your brand” it only means you control that specific web address.
Someone else could register yourbrand.net or sell products under a near-identical name without violating any domain law.
When you need a trademark:
- You are building a recognizable brand you plan to grow into a real business
- You want legal protection against others using your brand name in their own products, services, or domains
- You are in a competitive niche where brand impersonation is a realistic risk
When a trademark is not immediately necessary:
- You are running a hobby blog or personal site
- You are still testing whether your niche and brand name will stick long-term
Before trademarking, check for conflicts first: Use the USPTO’s free TESS search tool at tmsearch.uspto.gov to check whether your domain name or brand name is already trademarked by someone else. If it is, using it commercially creates legal exposure regardless of the fact that you own the domain.
Domain variations worth registering alongside your main domain:
- .net and .org versions
- Common misspellings of your brand name
- Hyphenated versions if your name contains two words
Develop a Content and Marketing Strategy
A domain with no content plan generates no traffic. One of the most common mistakes new site owners make is spending weeks perfecting their design before writing a single piece of content then wondering why nobody is visiting six months later.
Google ranks content, not beautiful websites. The sooner you start publishing, the sooner Google starts finding you.
A simple 30-day plan to get your site moving:
Week 1: Complete all technical setup (hosting, domain connection, SSL, email). Publish your About page and Contact page. Write and publish your first blog post.
Week 2: Publish two more posts. Claim your social media handles on every platform. Set up a basic email opt-in form using a free tool like ConvertKit or MailerLite.
Week 3: Submit your site to Google Search Console and Bing Webmaster Tools. Start keyword research for your next four articles. Install Google Analytics.
Week 4: Publish two more posts. Check Search Console to see which pages Google has found. Plan the following month’s content around keywords your audience is actively searching for.
By the end of 30 days, you will have a functioning website with at least five published pieces of content, an email list starting to build, and Google actively crawling your site. That is a real head start.
Set Up Analytics and Track Your Progress from Day One
Most new site owners install analytics after they have traffic.
The right move is to install it before you have traffic so you capture every visit from the very beginning, and so you can see exactly when your first visitors arrive and where they came from.
Google Analytics 4 (GA4) is free and takes about ten minutes to install. In WordPress, the easiest method is through the MonsterInsights plugin (the free version is sufficient) or by pasting the GA4 tracking code into your header using the RankMath plugin.
Google Search Console is separate from Analytics it shows you how Google specifically sees your site, what search queries your pages are appearing for, and which pages are indexed. Both are free and essential. Install both on day one before you have any traffic so you never miss data.
Key metrics to check weekly from the start:
- Sessions and users: How many people are arriving? Is the number growing each month?
- Traffic source: Are visitors coming from Google, social media, or direct? This tells you which channels are actually working
- Top pages: Which of your published pages are getting the most visits? Double down on those topics in your next content plan
- Search impressions in Google Search Console: Even before you rank on page one, you will see which keywords Google is considering your pages for this directly guides your next content decisions
Most Common Mistakes People Make After Buying a Domain
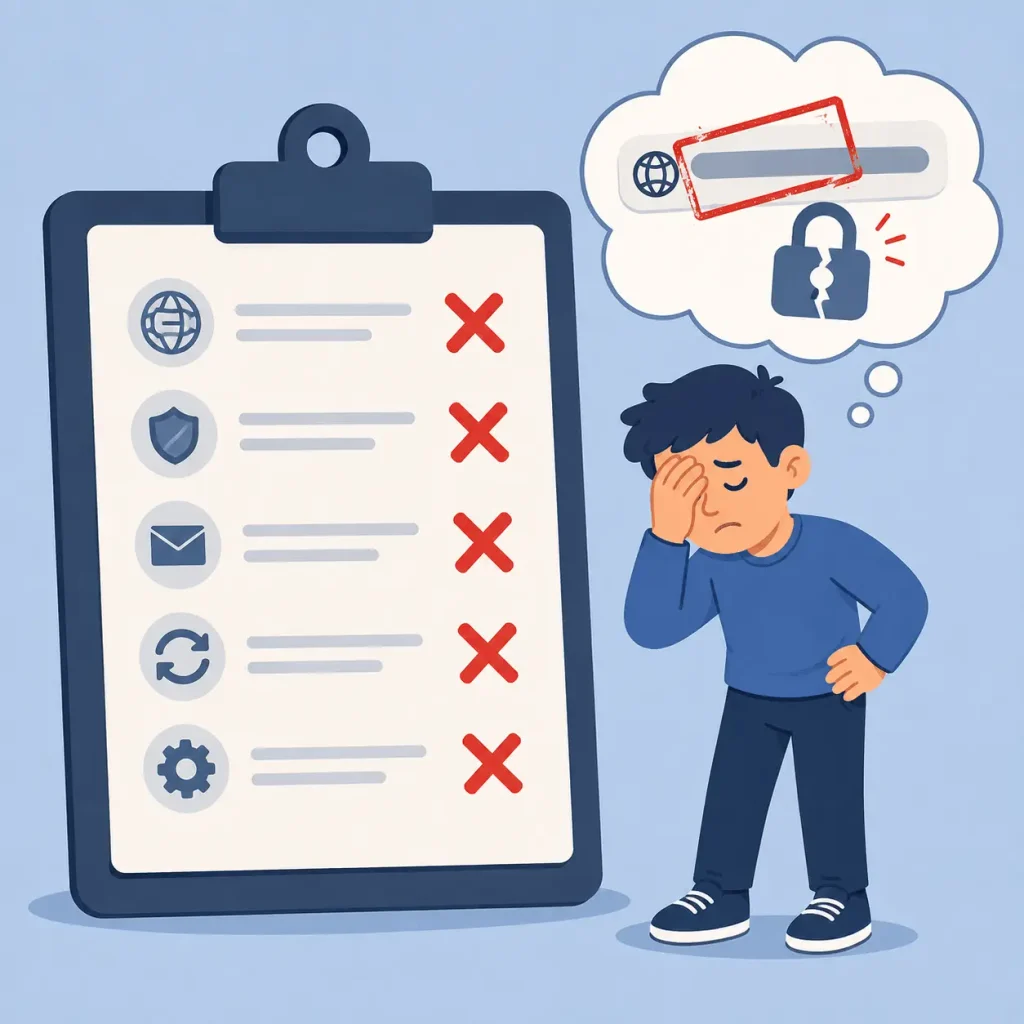
These are all preventable. Avoid them now, and you will save yourself significant frustration later.
- Not enabling domain privacy immediately. Your personal contact details become publicly visible the moment you register without privacy protection. Enable it before you do anything else before even reading the next step.
- Confusing the domain registrar with the web host. These are two different companies doing two different jobs. You need both. Buying a domain does not give you hosting, and buying hosting does not give you a domain.
- Using a Gmail address instead of a domain email. Every email sent from yourbusiness@gmail.com is a missed opportunity to reinforce your brand. Set up a domain email address as soon as your hosting is connected it takes about 15 minutes.
- Forgetting to turn on auto-renewal. Domain expiration is the most preventable disaster in web publishing. Turn auto-renewal on now, before you move on, before you forget.
- Waiting too long to publish content. Domain age is a real factor in how quickly Google builds trust with your site. A domain registered today with content published this week has a head start over one registered today but left empty for months. Start publishing as soon as the site is set up even one post is better than zero.
- Buying the domain but not claiming social media handles. Someone else could take @yourbrandname on Instagram, Twitter, and YouTube tomorrow. It takes 20 minutes to claim them all via Namechk.com. Do it the same day you buy the domain.
FAQs
What’s next after buying a domain name?
Turn on domain privacy protection first, then get a web hosting plan, connect your domain to hosting via nameservers, and install WordPress or your chosen website builder. After that, set up a professional email address and enable SSL on your site.
How long does it take for a domain name to work after purchase?
Your domain is active immediately after purchase, but DNS changes like connecting it to new hosting take between 15 minutes and 48 hours to propagate globally. After that, your site is accessible worldwide.
Does buying a domain give you a website?
No. A domain name is just your web address. To have an actual website, you also need web hosting a server that stores your website files. These are two separate purchases, usually from two separate companies.
Does buying a domain give you an email address?
Not automatically. You need either web hosting that includes email, or a separate email service like Google Workspace or Zoho Mail, to create a custom email address at your domain.
Do I need to trademark my domain name?
Registering a domain does not give you trademark rights. If you are building a business or recognizable brand, a trademark provides legal protection that domain ownership alone does not. For a hobby blog or personal site, trademark registration is not immediately necessary.
Can I run a website without a domain name?
Technically yes your hosting provider gives you a temporary IP address or subdomain. But for any professional or business purpose, a custom domain is essential for credibility, custom email addresses, and search engine visibility.
How long after purchasing a domain can I use it?
Immediately. However, if you have just connected it to new hosting, allow 24 to 48 hours for DNS propagation before the site is reliably accessible everywhere in the world.
When you buy a domain name, do you own it forever?
No. Domain names are licensed, not permanently owned. You register them for a period of 1 to 10 years and must renew before expiration. Enabling auto-renewal prevents accidental loss.
Can I change my domain name after purchasing it?
You cannot rename an existing domain but you can buy a new domain, migrate your site there, and redirect the old domain to the new one. This is done fairly regularly when brands rebrand, though it requires SEO work to preserve any existing rankings.
What should I do with my domain if I am not ready to build a website yet?
Enable domain privacy and auto-renewal immediately regardless. Then either park the domain with a “coming soon” page, redirect it to your social media profile, or connect it to Google Workspace for a professional email address. Do not leave it pointing nowhere.3
Do I need to set up a website right away after registering a domain?
No, but the sooner you do, the better. Domain age is a factor in how quickly Google builds trust with your site. Even a simple one-page coming-soon site with a brief description and email opt-in is meaningfully better than nothing.
How much does it cost to maintain a domain name per year?
Standard .com domains cost $10 to $20 per year to renew, depending on the registrar. Premium domains can cost significantly more. Domain privacy protection adds $0 to $15 per year depending on the registrar many now include it free.
Verdict on i Bought a Domain Name Now What?
Your domain is step one of a longer journey but it is the most important step, because everything else gets built on top of it. The technical setup covered above takes less than a day if you follow the steps in order. After that, it is all about publishing content, building trust with your audience, and letting Google find you.
The site you are imagining today is completely achievable. Start with Step 1, work through the list, and do not let the technical details slow you down.
Also Read:


I don’t know brother how should i thank you for this wonderful article. From scratch to finish..
Heartfelt thanks
Always here to help you 🙂
Hey Umer,
You never stop to amaze me. It seems you are on a mission of guiding the bloggers in an amazing way. A true warrior of Guideblogging.
❤️ Thanks for your amazing words ❤️
Great piece,
Any newcomer can have this question. Bought a domain name now what, because they don’t know the workflow. I remember i too had this question in mind in 2016 when I started my own blog.
I dug the internet, and flooded with valuable information and created my first site and made it in very little time. That was a great learning curve, That day and now, create few on mine and many of my clients with any hassle.
There are a lot of things to take care as mentioned so that one could not go wrong technically, which could hurt in the long run.
Great guide Umer!
Hey Navin,
Glad you like this post 🙂
Keep Visiting
Thanks for sharing this amazing guide Umer ❤️!
You covered every possible step to take after buying a domain name.
After reading this detailed guide now I have a clear idea where to start.
Thanks Again!
Thanks, Parveender for your this words and I’m glad that this blog post helps you.
Wow, Umer,
This Blog POST WILL definitely help newbies. who are just starting with these things.
I’ll recommend you to add a table of content to this blog post.
Hey Shehraj,
Glad you found this article helpful 🙂 and Yeah we will soon add a table of content in this article.
Cheers,
Umer Qureshi
Amazing writing skills. I am surprised that how you can write such a long article.
Wow, Umer
You are really amazing and your blog as well. I’m learning a lot from you keep providing these types of amazing posts to us.
Thanks for your lovely comment 🙂 and I’m glad that you found this article helpful.
Cheers,
Umer Qureshi
Nice one Umer,
I love your blog posts, Every post on your blog is very helpful as this one.
Keep it up!!
Thanks Jay for your lovely comment 🙂
Hey Umer,
I enjoyed this post. It was well written and very easy to understand.
Hope to see more informational stuff in future. Thanks
Hey Harpreet,
I’m glad that you found this article helpful and easy to understand and YES! I’ll try to add more informational stuff in this blog soon 🙂
Keep Reading,
Umer Qureshi
Nice piece of information, actually from scratch to finish for 1st day of new blogger.
Awesome Brother.
Thanks, Satish for your awesome comment and I’m glad you found this information helpful 🙂
Nice stuff Umer.
I want to thank you for writing this amazing piece of content,
I just stumbled upon the weblog also the website layout is superb. Keep writing and thanks for your efforts
Good written buddy…
Here you have covered all the things that every newbie should learn about.
Cheers.
Usman ?
Welcome Usman and I’m glad that you found this article helpful ❤️
Thanks for sharing this amazing guide Umer.
This Blog POST WILL definitely help newbies. Who is just starting with these things,
Since the way, You explained in detail. It will very for beginners to understand.
Nice article . I will bookmark it for future reference .
Hello Umer,
You have briefly described this information for newbies, I would love to share this content.
Thanks a lot!
Thanks for sharing these amazing ideas, I would definitely try some of them. Love you 🙂
Can i buy a expired domain?
Is it useful?
Yes It is useful If you want to start a blog then you can find expire domain in any niche you want to start a blog and check it’s traffic, backlinks and spam score if you find any expired domains which has high search volume and high quality backlinks from high domain authority sites and low spam rate then you can go ahead and buy such expired domains for better ranking your blog posts
Thank you,
I recently found a domain with little traffic but more backlinks…
I am gonna buy that and use it for my new site…